Knee Taping for Runners 101: How to Support Your Joints While Running

Taping is a common way to increase knee stability while reducing pain from a runner’s high-impact sport. Let’s take a look at how to tape a runner’s knee.
Knee taping for runners, specifically athletic taping with KT tape, has become very popular among elite runners.
There are multiple methods to tape your knee, the most efficient are detailed below.
Two Techniques of Knee Taping for Runners
These two knee-taping techniques are designed to help with support and stability. When taping make sure to create a tight pull without cutting off circulation to your blood flow.
Generalized Knee Support Technique
For this technique you will need:
- Scissors
- Kinesiology tape
- Measuring tape
Make sure to clean the knee and surrounding area before you start taping.
The method for this technique is:
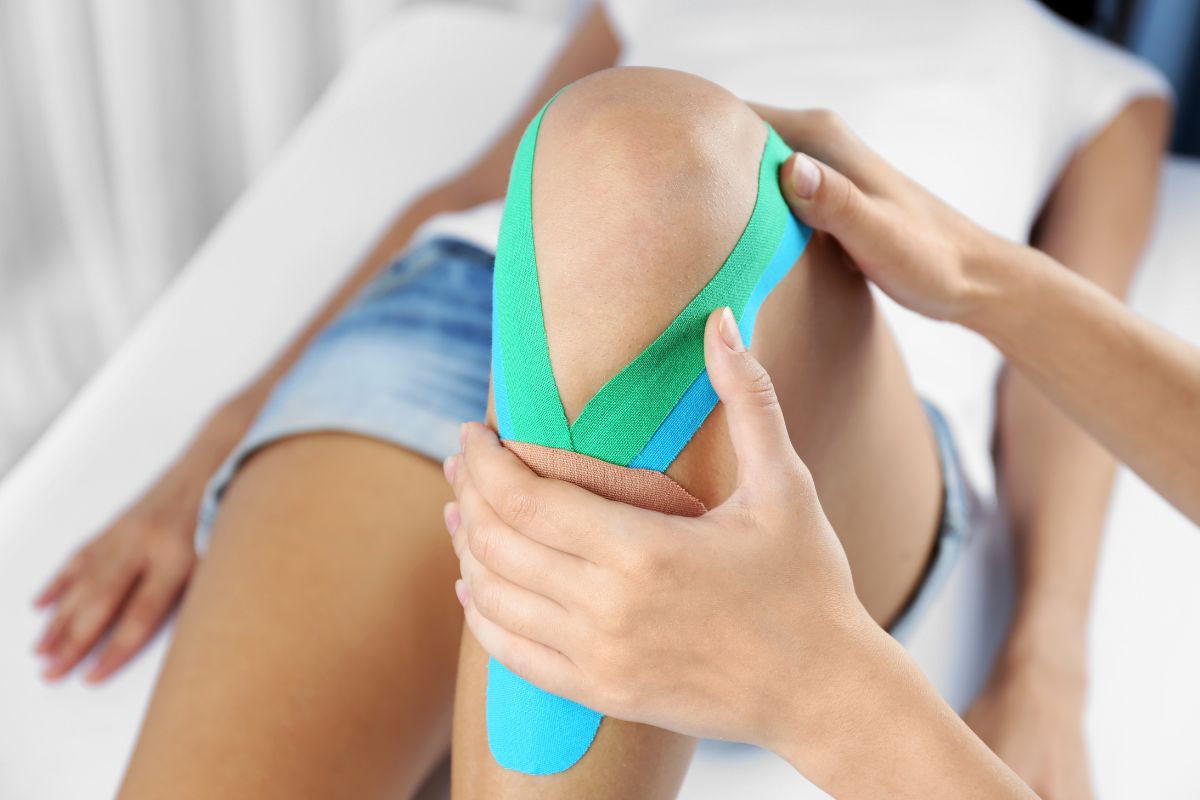
- Step 1 – Using the measuring tape, measure from your quadricep tendon to your tibial tubercle. This is the muscle above your knee to the lower part of your knee which dips inward.
- Step 2 – Cut your kinesiology tape to this measurement, twice.
- Step 3 – Sit on a chair or bench which allows you to bend your knee. Using one piece of cut tape, peel off around an inch of the tape covering and place it just outside your tibial tubercle (the part under your kneecap which dips).
- Step 4 – Pull off the remaining tape covering, stretch it so it’s tight, and allow the tape to follow the natural curve in your knee.
- Step 5 – Do the same thing on the other side of your knee, so that the tape makes an oval shape and then crosses on one end. You should be left with an area of no tap over the bottom part of your knee.
- Step 6 – Grab your uncut tape again, and cut the third strip, this time just long enough to wrap around your calf.
- Step 7 – Straighten your leg slightly, and peel the tape from the center outwards. Stretch the tape and apply it under your kneecap. Then unpeel the rest and wrap it along your hamstrings.
This technique will give your joint a general overall support structure and should last for around 4 days before unsticking.
Patellar Tracking Stability Technique
Some people suffer from Patellar Tracking Disorder, which is a disorder where their kneecap isn’t signed correctly.
This means the kneecap will move around while they exercise. This can be painful, lead to swelling, and prevent exercise.
If you have a weak knee or a similar disorder to patellar tracking disorder follow this technique instead.
For this technique you will need:
- Scissors
- Non-elastic medical tape
- Adhesive gauze for the skin
- Measuring tape
Make sure to clean the knee and surrounding area before you start taping.
The method for this technique is:
- Step 1 – Measure the length of your kneecap.
- Step 2 – With this measurement, cut two strips of gauze and one strip of medical tape.
- Step 3 – Sit on a bench or chair that allows you to extend your knee while relaxing your thighs.
- Step 4 – Stick gauze strips over your kneecap. Place them vertically one next to the other.
- Step 5 – Using the medical tape, stick it to the outside of your knee, and pull it over the strips already laid down until it ends on the inside edge of your knee. It should be horizontal across the gauze strips.
This taping technique will only last for around 18 hours before the adhesive wears off. Depending on your medical condition, a different approach may be needed. Talk to your physical therapist for more information.
Knee Taping To Relieve General Pain

If you have a medical issue or suffer from frequent pain, then you should see a medical professional and stop running until a doctor can confirm otherwise.
However, if you have mild pain and need a quick patch to continue running, then follow this knee-taping technique.
For this technique you will need:
- Scissors
- Kinesiology tape
- Measuring tape
Make sure to clean the area before you start taping.
The method for this technique is:
- Step 1 – Cut two pieces of Kinesiology tape to 5 inches.
- Step 2 – Sit on a bench or chair that allows you to bend your knee to around 90 degrees.
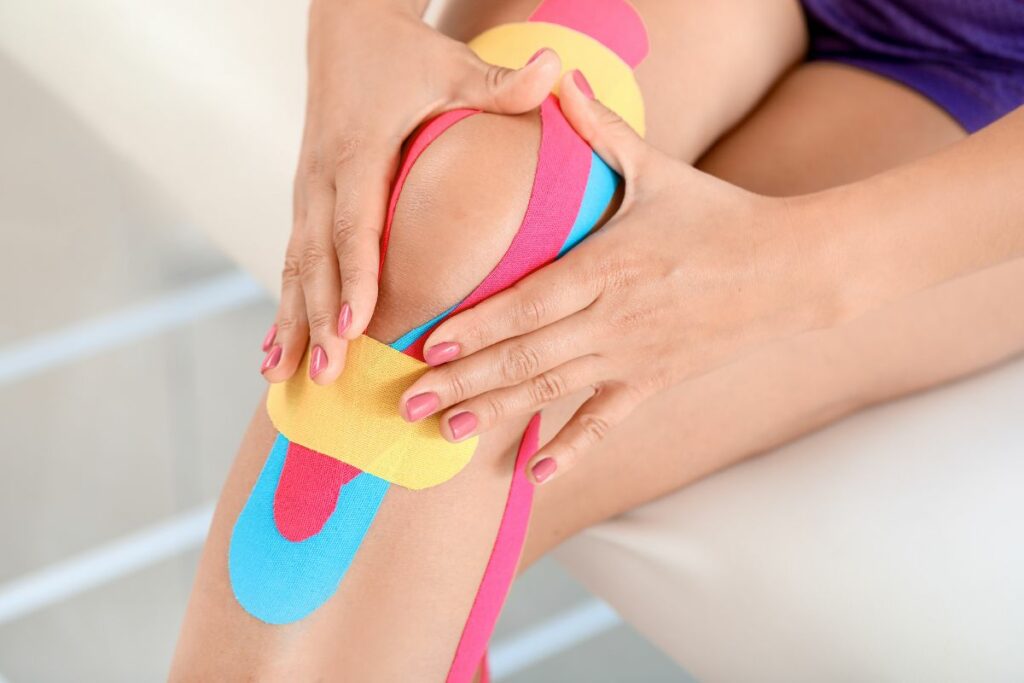
- Step 3 – Stretch one of the tape strips and apply it diagonally across the area of your knee which is receiving pain. Do the same with the second piece to create an X shape.
- Step 4 – If needed, cut a 10-inch piece of tape and run it along the midpoint of the cross. Pull it back to reach the quadricep and tibial tubercle.
Removing Knee Tape
The tape will come off by itself after several days.
However, if you want to remove it earlier, there is a pain-free method to consider:
- Rub olive oil or baby oil onto the tape.
- Let it soak in for around 30 minutes.
- Head to the shower to create a pain-free environment to remove the tape.
If you have hair around your knee, pull in the direction that the hair grows. This will help avoid irritation or ingrown hairs.
Roll the tape back instead of pulling it, this will cause less pain. When rolling, roll slowly otherwise you may damage your skin.
If the tape is still tightly attached, pull your skin in the opposite direction, this can help release the tape in a pain-free manner.
How Does Knee Taping Help Runners?
Knee taping for runners can help avoid the harsh impact running can have on the knees.
Because your knees act as a suspension for your legs, they can take on the brunt of the impact when you land your foot. Taping your knee can force that impact onto your thighs, which may be stronger in comparison.
If you have knees that wobble this process can help them stay in place, avoiding pain from unnatural movements.
The Bottom Line
There are multiple ways to tape your knee for running. Some are designed for specific disorders, while others are designed to reduce pain. The three knee-taping methods we have mentioned above are the most commonly used.
It would be best if you took extra special care of your knees to avoid overuse injuries or chronic pain. Strengthening the knees is essential for runners to prevent injuries.


![How Running Changes Your Body Shape [A Runner’s Guide]](https://proudtorun.b-cdn.net/wp-content/uploads/2022/06/How-Running-Changes-Your-Body-Shape-A-Runners-Guide-768x512.jpg)


